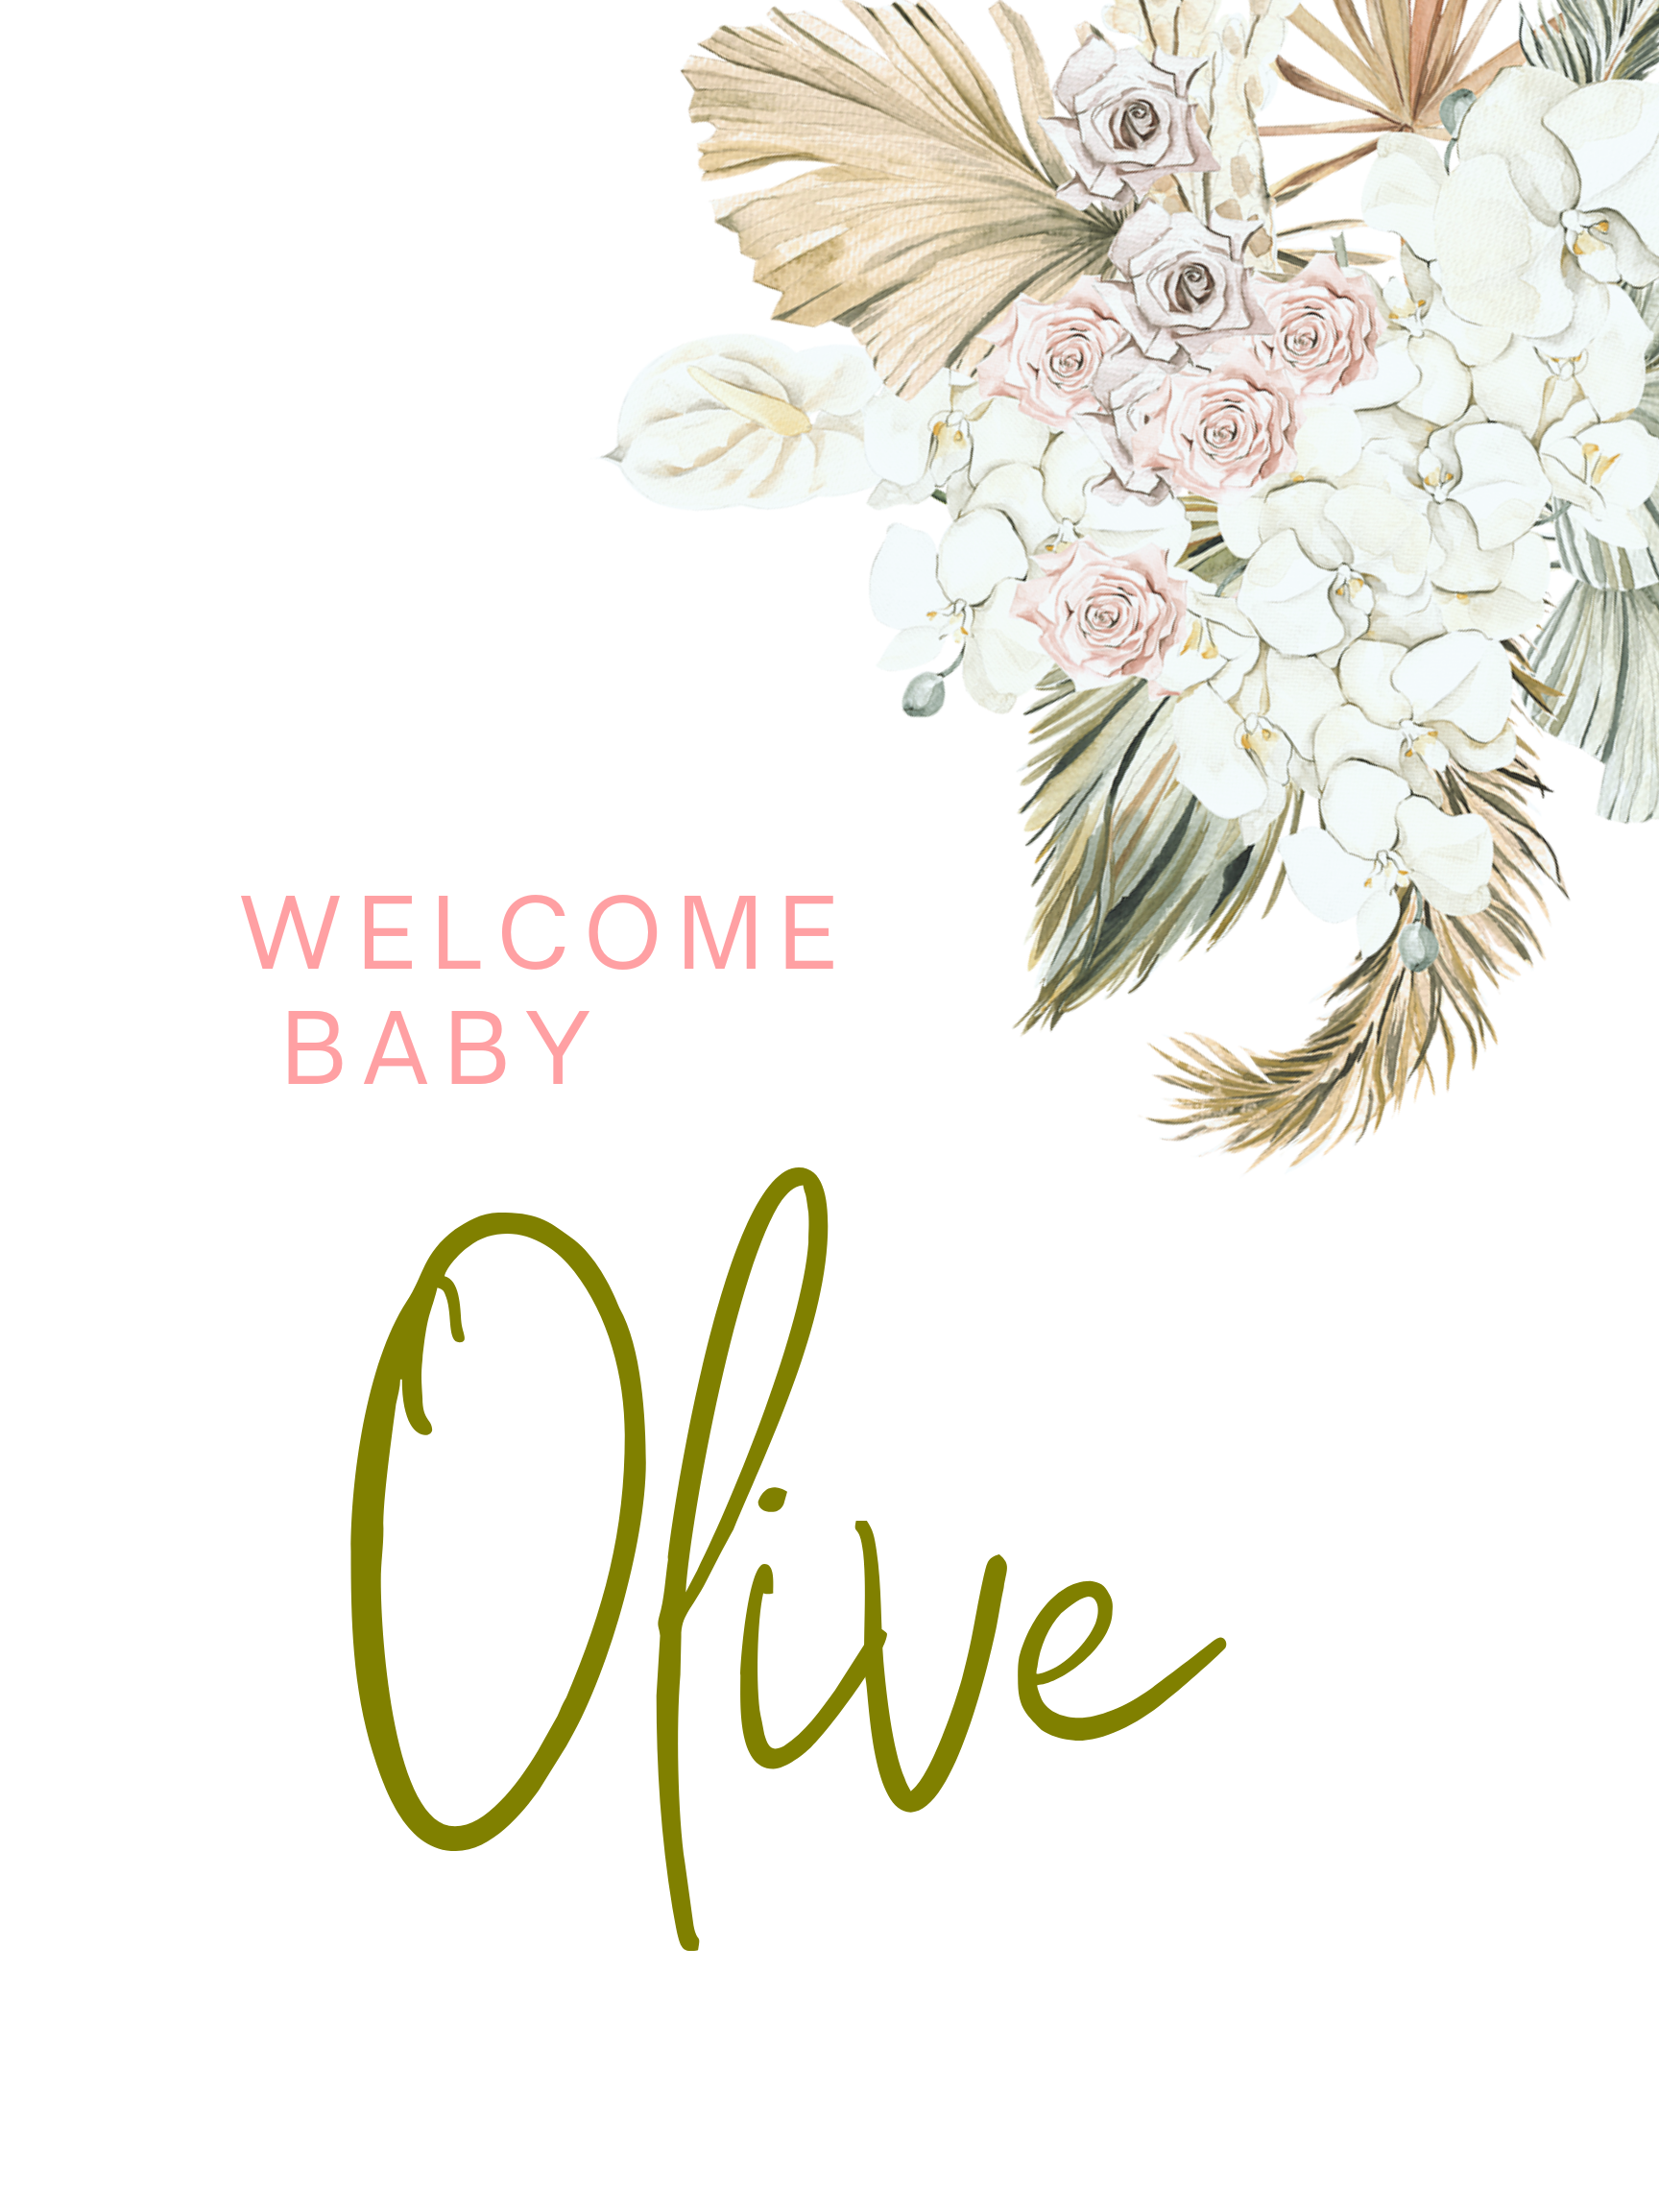
Want to learn how to design a party invite using Canva?! If you’ve read any of my blogs that talk about party themes, then I’ve probably mentioned designing an invite in Canva. Sometimes I get lucky and find the exact invitation or party theme I’m wanting pre-made on Amazon or Etsy. I’ve found it’s a bit easier to make my exact vision to come to life using Canva when I’m working a theme that’s really specific or detailed.
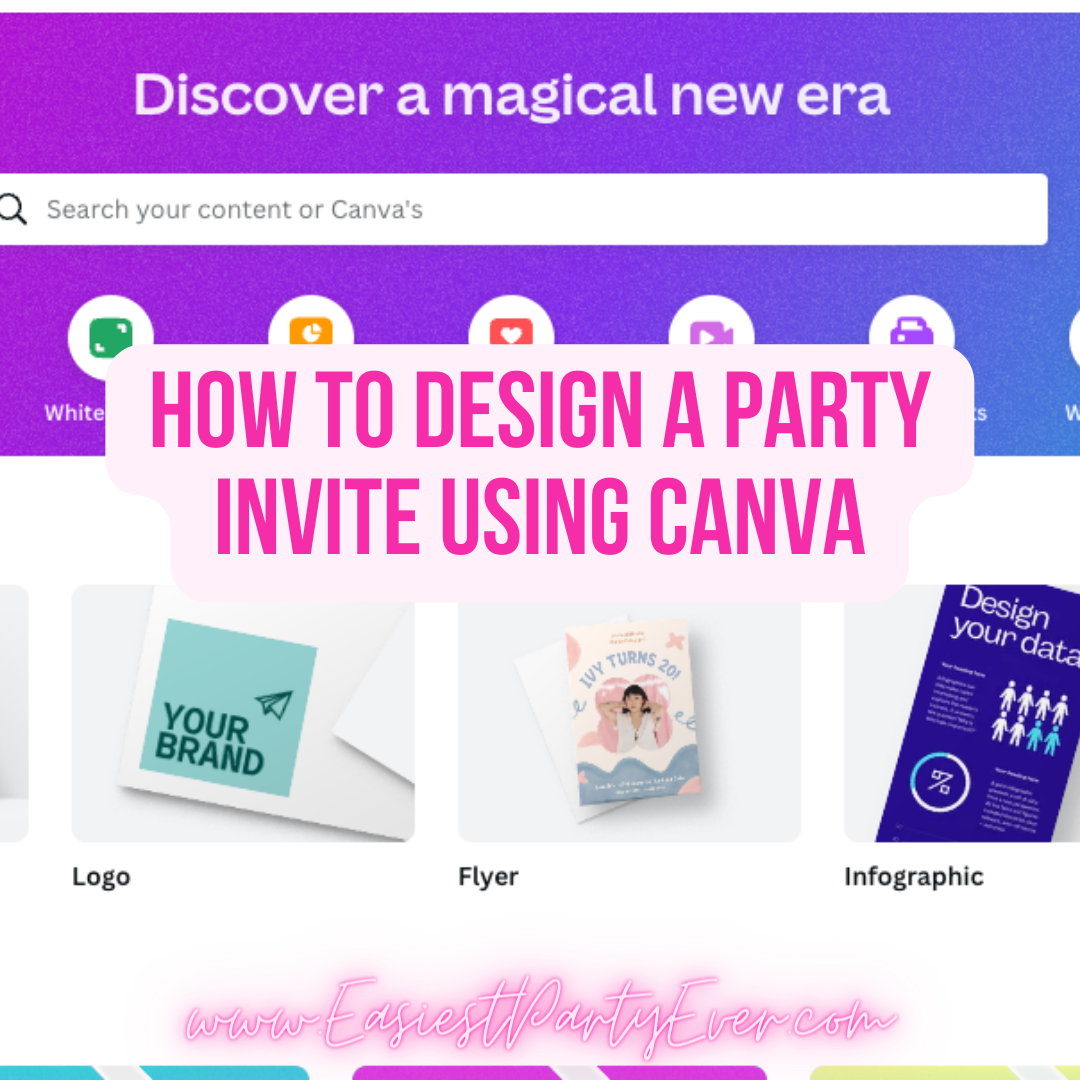
How to customize a party invite in canva
Step 1: choose a template. I really like using the “flyer” template because there are usually lots of premade invite options where I can use more of a plug and play type concept to get the job done!
Step 2: upload images or insert elements that you want to use. If I’m working with a specific party theme, I sometimes have an image from another resource that I can upload directly to the invite. Otherwise, I’ll search the “elements” area of Canva to build what I’m wanting my end result to look like.
Become a member
Step 3: Important information! I’m an expert at forgetting this part. Be sure to learn from me. Your invitations must have the following information in order to actually be a useful invitation:
- When: Share the specific date of the party. Also share what time guests should be there.
- Where: YES, even for intimate parties with close friends and family members, I always share the exact address. There’s nothing worse than missing your aunt’s text saying she forgot your address while you were running around getting things together for your little one’s birthday party.
- Registries: if this is applicable, share where guests can snag gifts easily to help everyone feel more prepared.
How to edit text in Canva
If you’re on the tech savvy side of things… skip this. You’ll be fine! Canva is really user friendly. Templated options really help as well. If you’d like a bit more information on how some people just do this wizardry, keep reading!
- For templated options, you will double click the existing text to highlight it. From there you want to delete that text and replace it with the information you’d like to input on your invitation or design!
- Starting from scratch? Use the “text” area on the left hand side of the Canva window to add text. You can choose from styled headers to paragraphs with more information. From there, you can use a text edit bar similar to Microsoft Word to adjust the font size, colors, style, etc.
How to download your file in Canva
- Use the top right button with an arrow facing up that says “Share”
- Toggle to the down arrow that says “Download”
- Choose the file format you prefer (I like .PNG or JPEG personally)
Share your invitations with friends & spread the word!
Designing invitations is one of the first waves of must-do’s when planning a party using my basic party planning checklist. As a serial procrastinator and last-minute party planner when it comes to my own events, I tend to share my invitation in digital format either via an online group, email, an online event, or personally via text.
If you prefer, you can always send the images off for printing & distribution as well! Just print the invitations using your preferred printing method and you’ll be in business (with a lot less work on your hands hand writing personalized invitations)!









Leave a Reply