A big party staple when I got into the party industry was the greenery wall. I keep thinking they’re going to go out of style… but it looks like they’re here to stay. Here’s the easiest way to make a greenery backdrop, with information on how I’ve built and used greenery walls multiple times throughout the years.
Step 1: Choose your greenery pattern
Most greenery that you find on amazon comes in 12×12 pieces that you connect. Larger (arguably higher quality options) are avaiulable in 20×20 pieces. I’ve even known event pros that use greenery in 4ft wide by 6-8ft tall sheets. It really just depends on what style greenery you purchase and what your end-goal is for aesthetic purposes.
This classic boxwood greenery is similar to the versions I used in my balloon business.
Become a member
There are lots of options for how you hang a backdrop wall. Backdrops are here to stay and there are plenty of ways to hang your backdrop for a secure photo opp. During big events where lots of people and extenuating circumstances might play a role, I recommend securing your backdrop to a wall or fixture to avoid tipping over. For more tips, check out how to securely setup a heavy backdrop for a party.
Note: When I first started planning and setting up for parties, “classic boxwood greenery” like I linked above was the only option. By the time I attended my second bridal expo, the brides I met with wanted to know what other colors and dimension I offered for their adorable neon signs to really pop using a greenery backdrop. From palm leaves to small white flowers to dimensional boxwood varying from lime to dark green, it’s all really gorgeous and classy for a party.
Step 2: Connect the backdrop
For both types of greenery I chose, you had to connect each smaller piece to make a larger backdrop. It was nice because I could adjust the size of the backdrop based on my client’s needs. I also let friends with online clothing stores or boutiques use a spare square or four to take pretty pictures of their clothing! It’s always nice to minimize waste and share fun, pretty things with other people who can benefit from your otherwise unused extras.
Here’s a smaller 3ft square greenery wall that I kept in my party room for parties of 30 people or less. It was really easy to dress it up with chairs, balloons, and more to make that section a bit nicer and ideal for opening presents or a cake table.
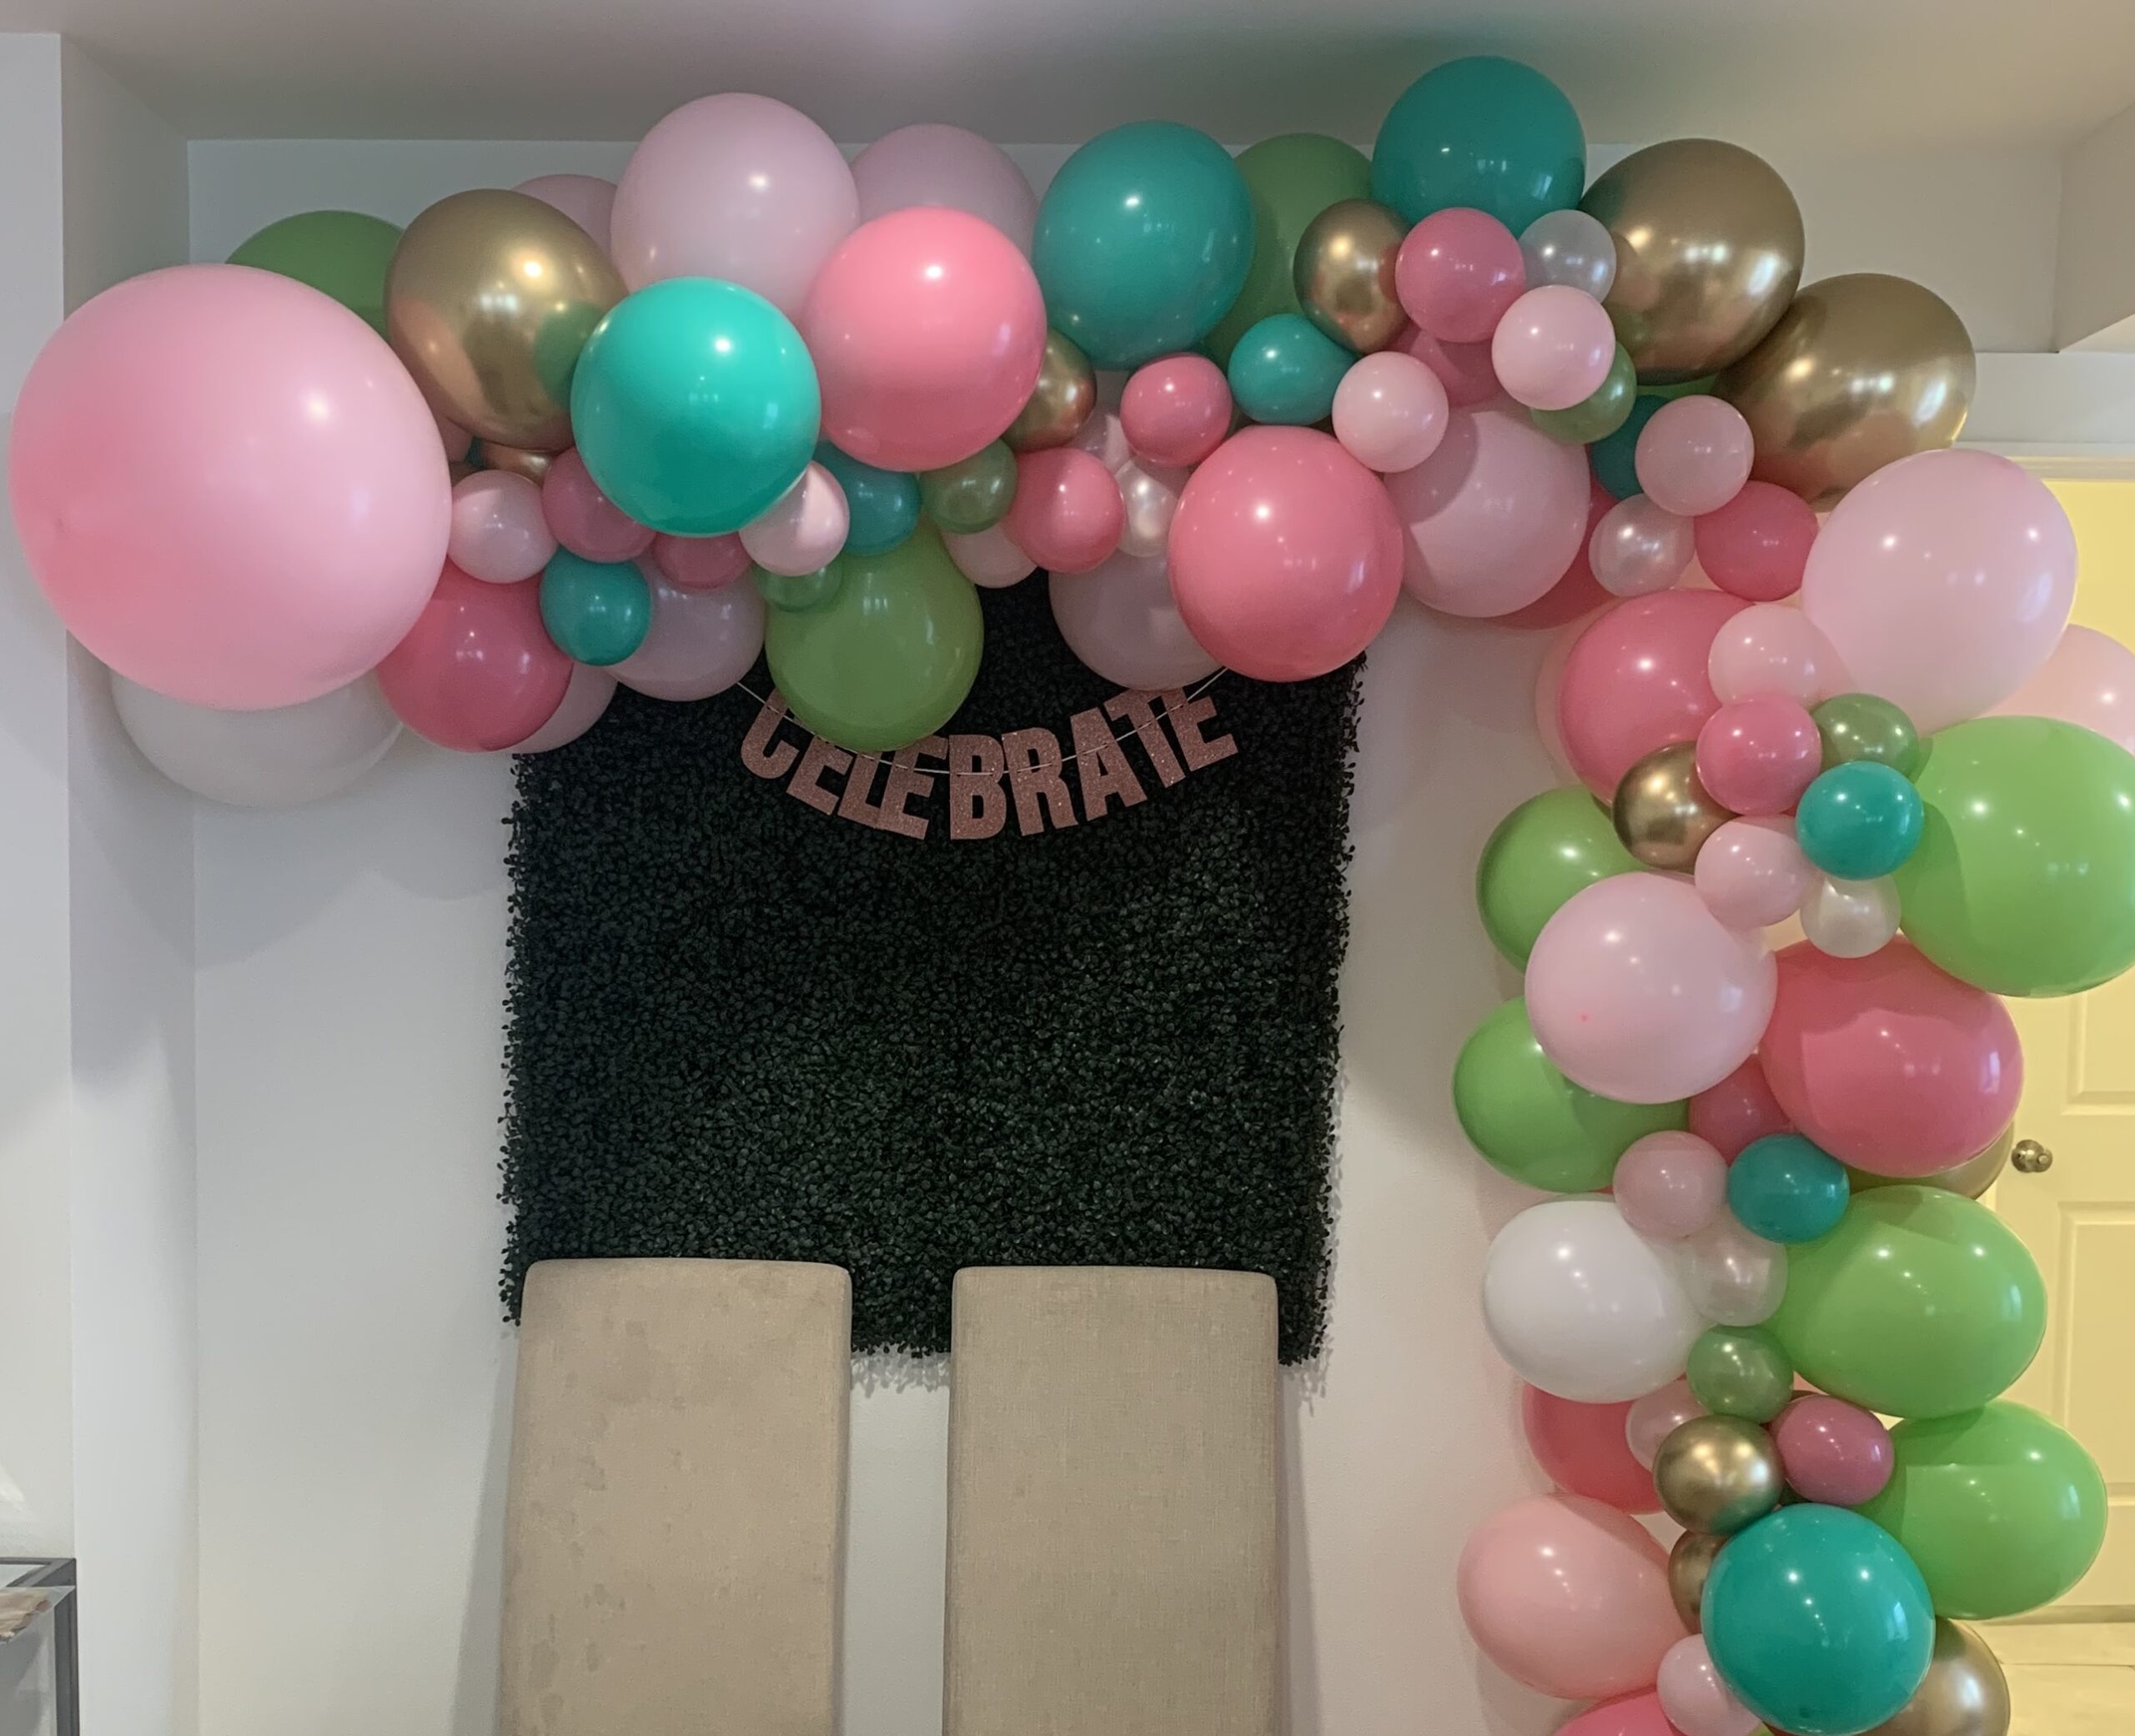
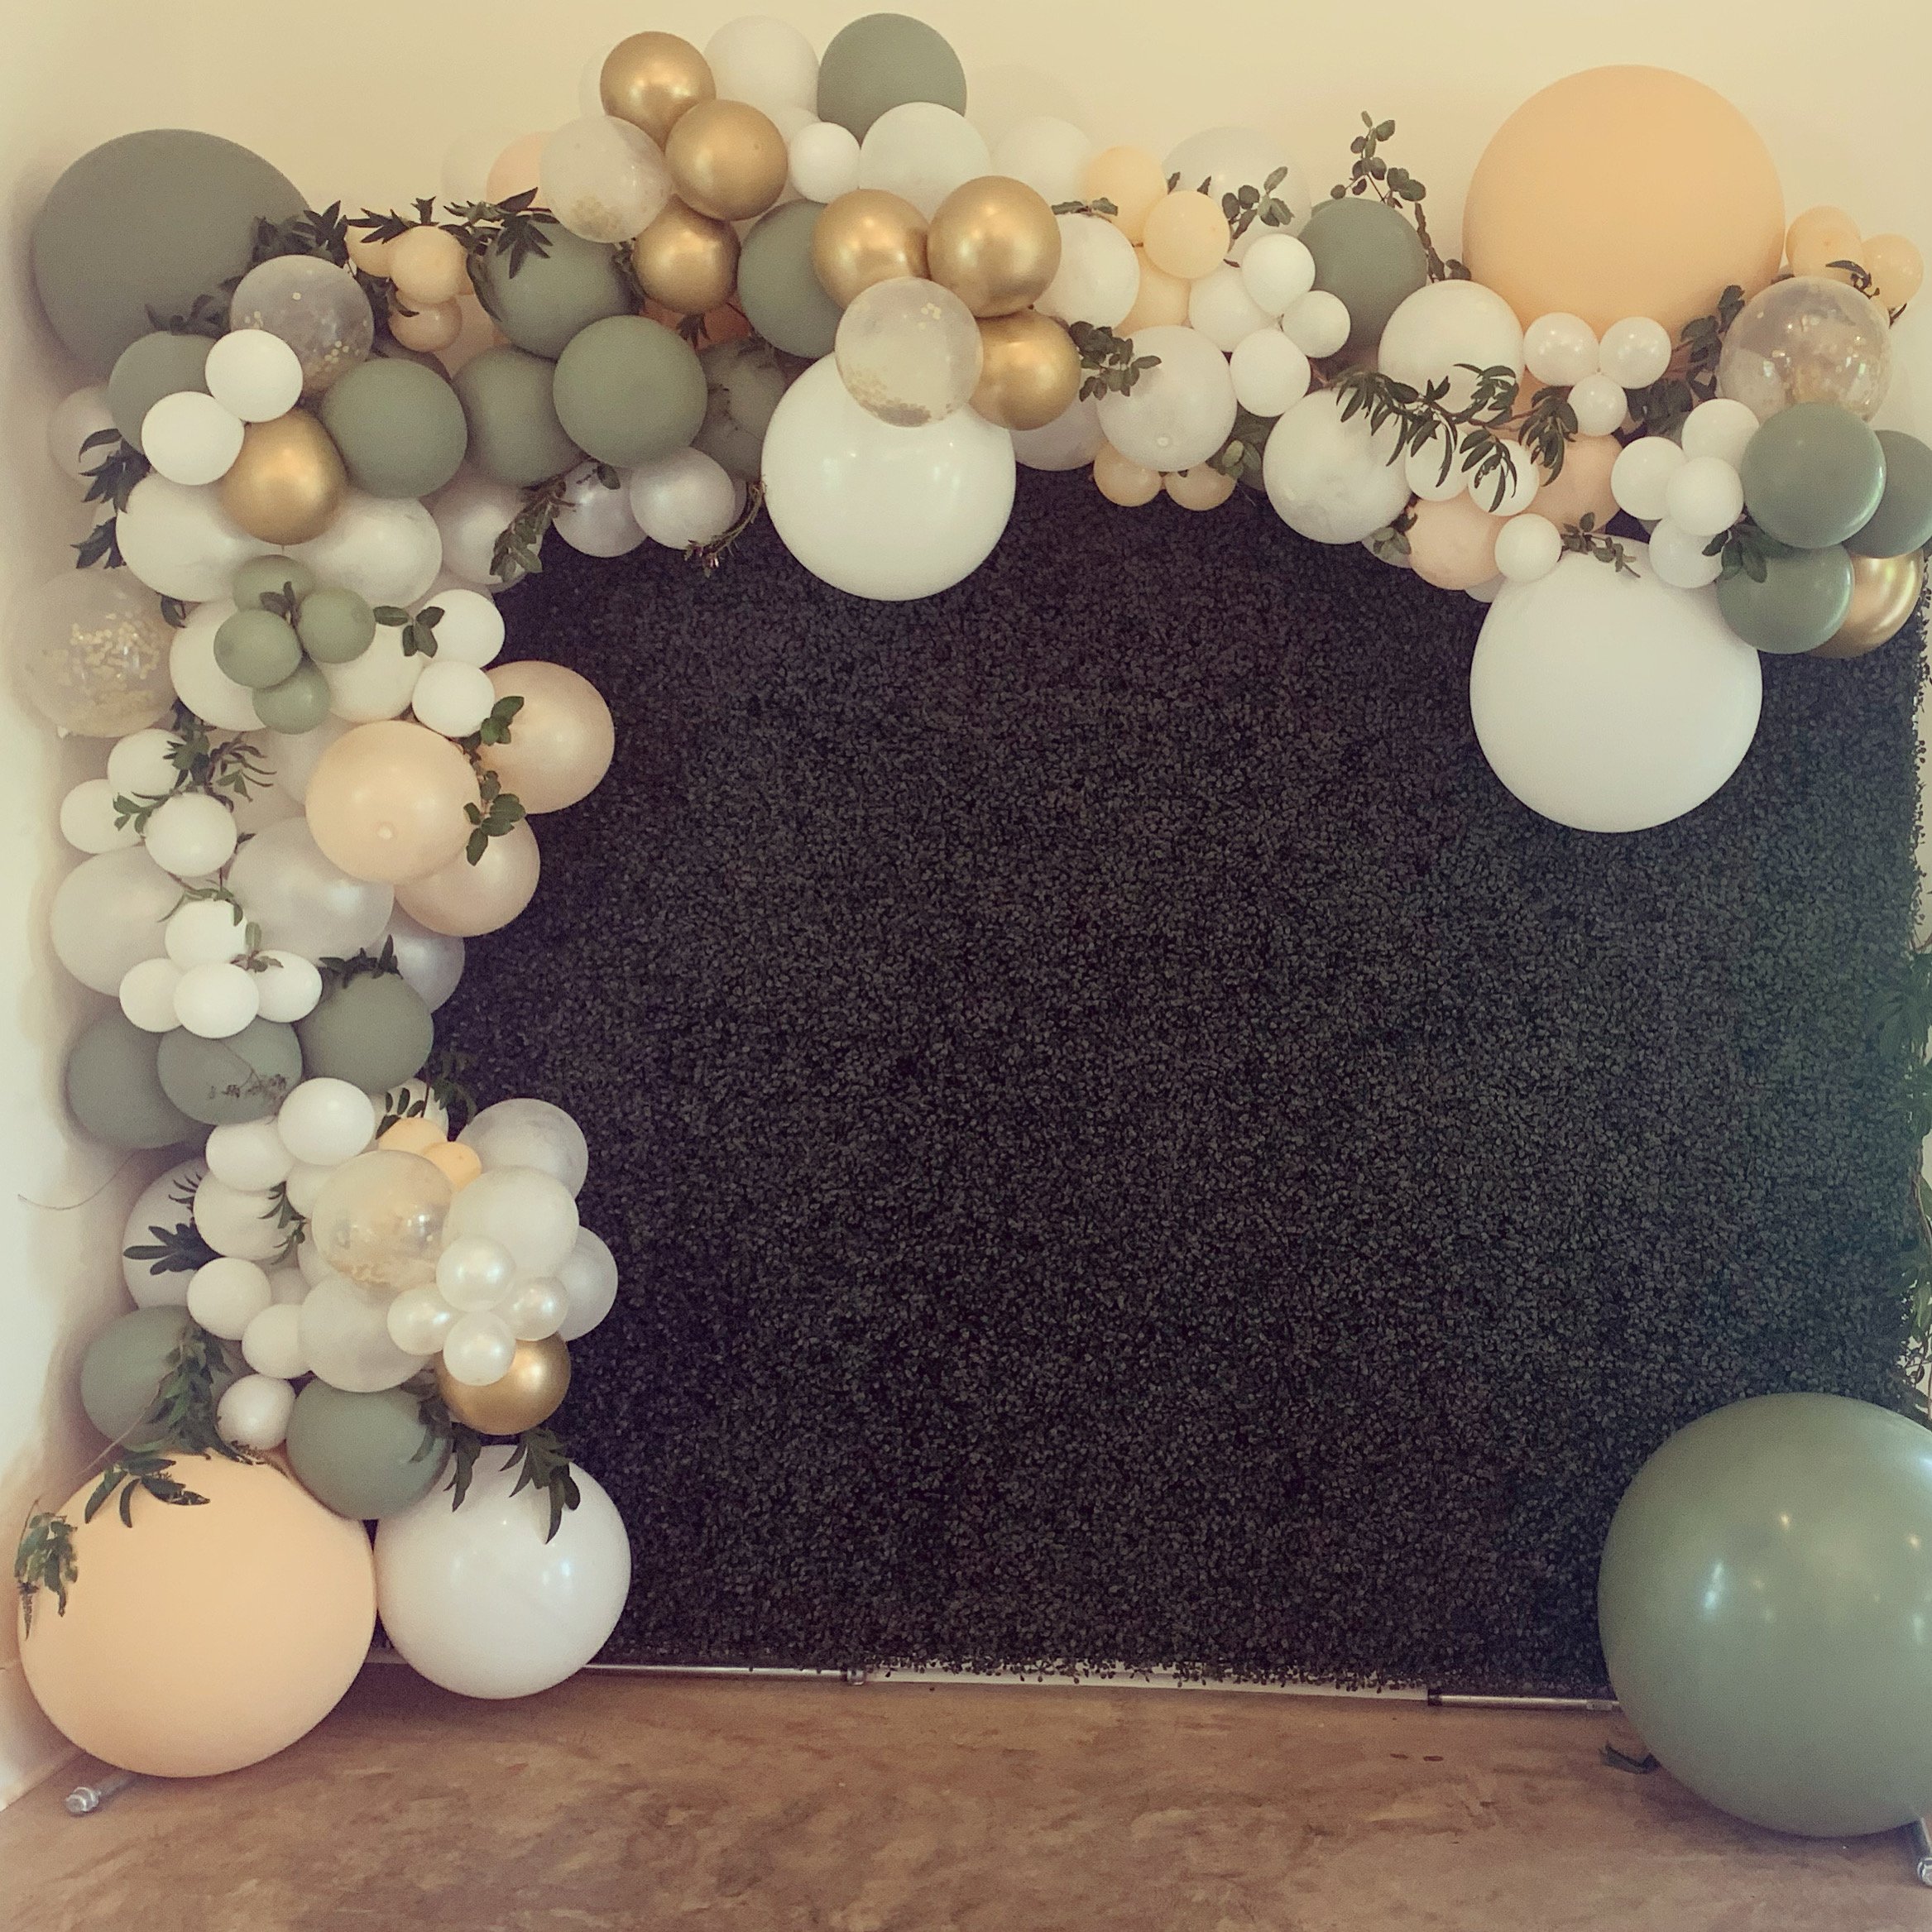
Personally, I offered an 8ft by 8ft option for larger events. I would also offer a 4ft by 6ft for parties. Keep in mind, once you’ve added balloons along the border the dimensions are much bigger. Here’s what a bridal setup looked like at one of my first weddings:
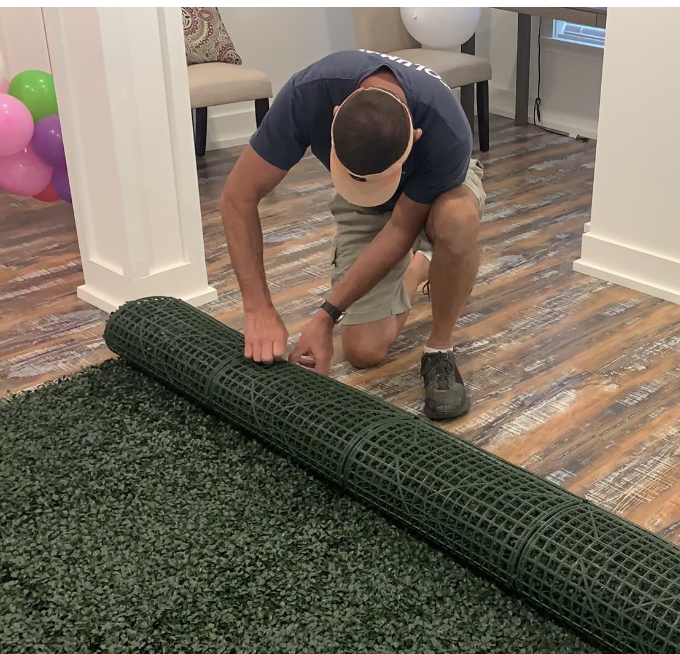
I was really pregnant when I purchased my first boxwood greenery wall for my business. My dad actually did most of the heavy lifting securing the greenery wall pieces (after I started the process). He also zip tied each piece to create more longevity. At the time, I thought that extra step was overkill. It actually made my rental greenery wall so much more resilient and easier to maneuver when moving locations.
Step 3: Use your greenery however you’d like!
There are lots of uses for a greenery wall!
- an individual wedding or party
- building a business with party rentals
- creating a bit of picture perfect aesthetic for your boutique or business
… a greenery wall is always a worthwhile endeavor! I hope this article helped explain how I’ve built and used greenery walls throughout the years!




Leave a Reply